WCAG Heading
WCAG Heading
WCAG Heading
By Callie Oettinger


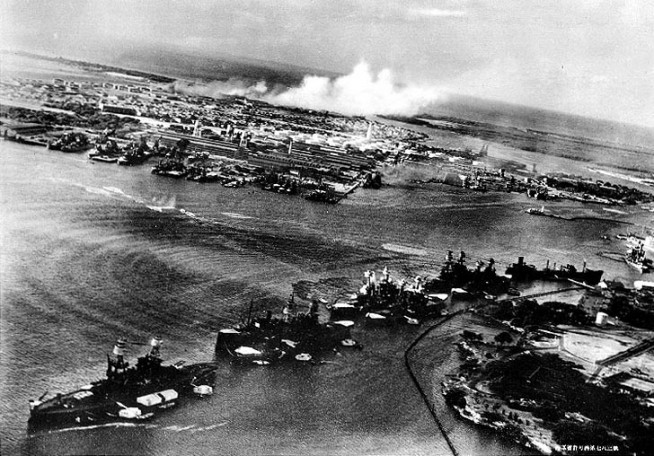
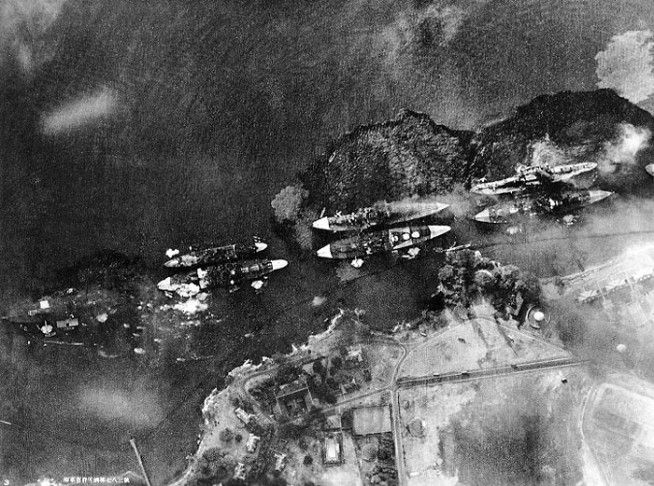
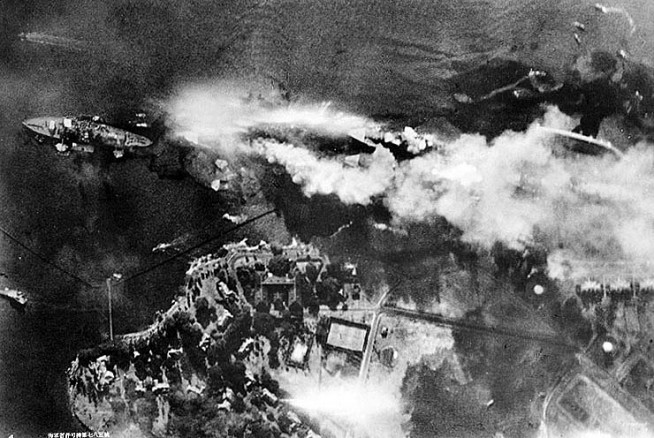
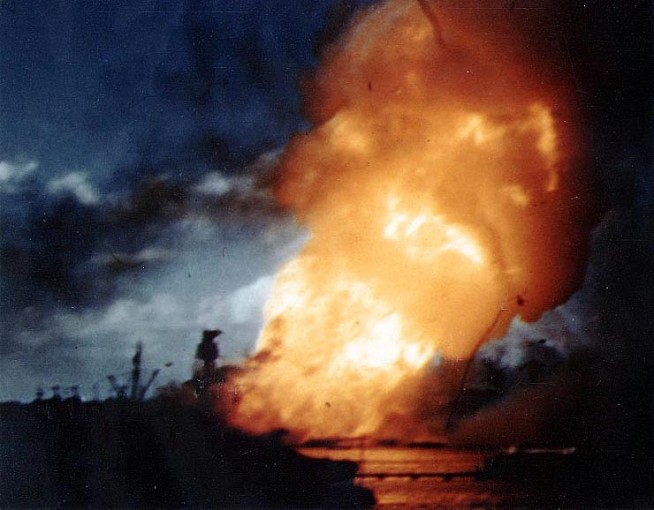
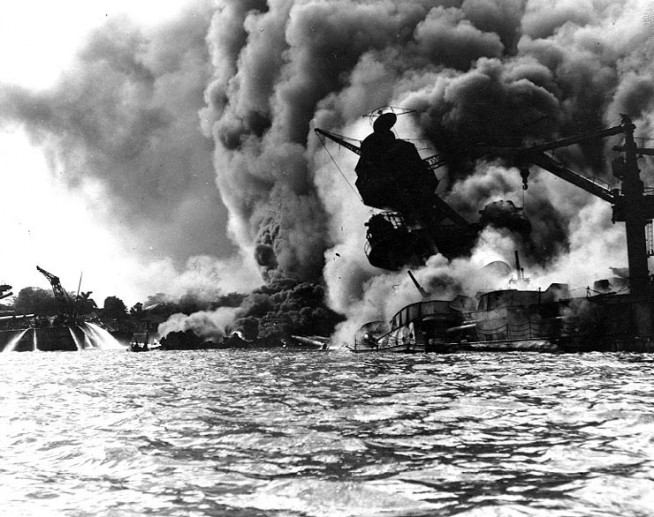
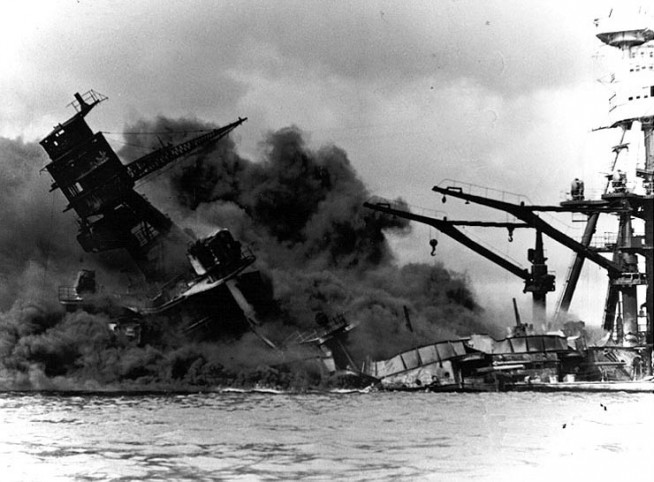
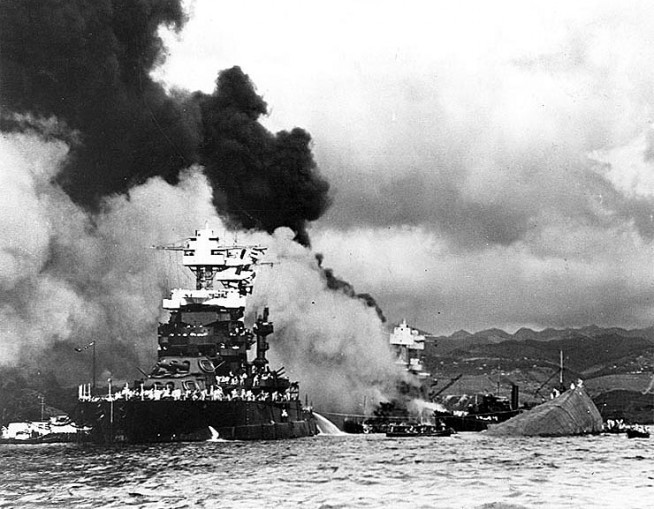
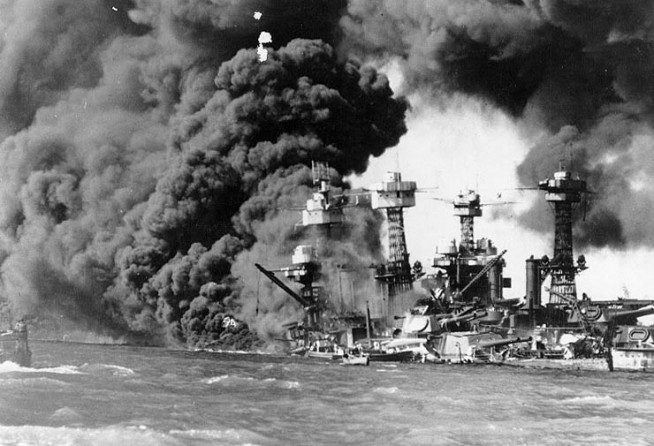
USS Arizona
USS California
USS Curtis and USS Medusa
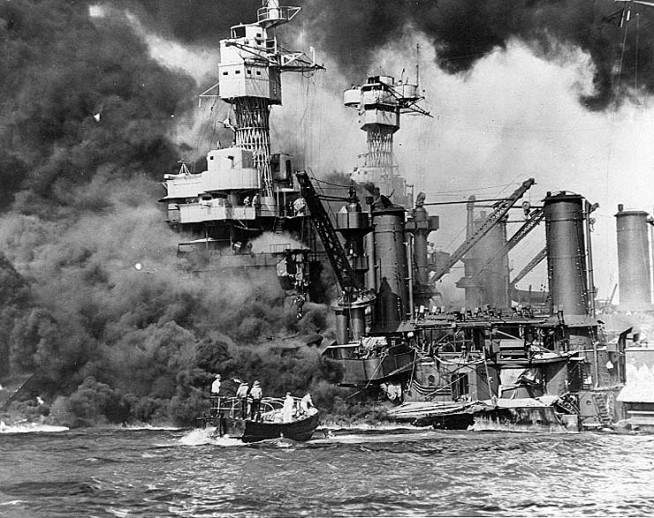
USS Maryland
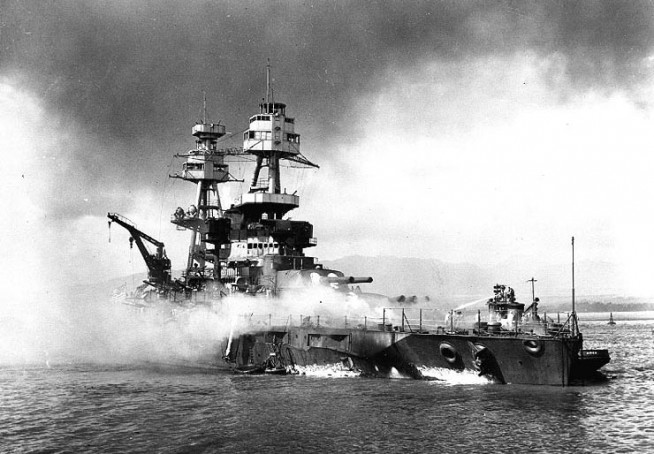
USS Nevada

USS Oglala

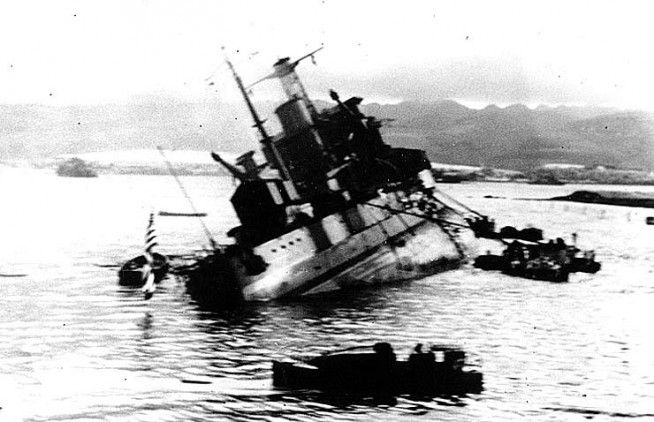
USS Oklahoma
USS Raleigh
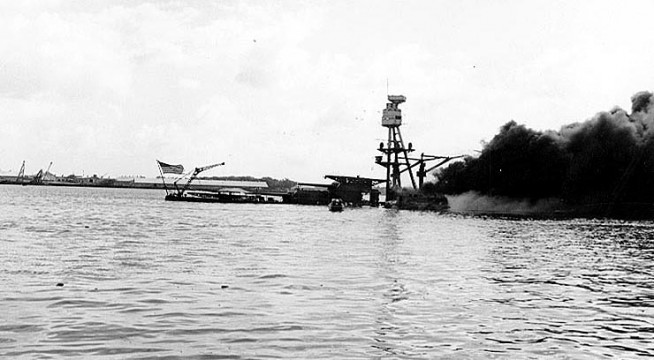
USS Shaw
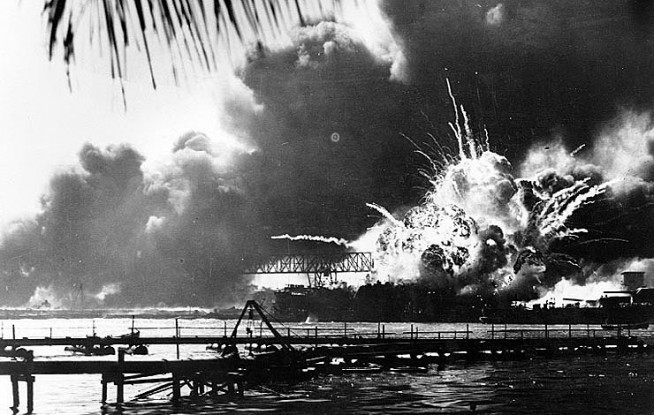

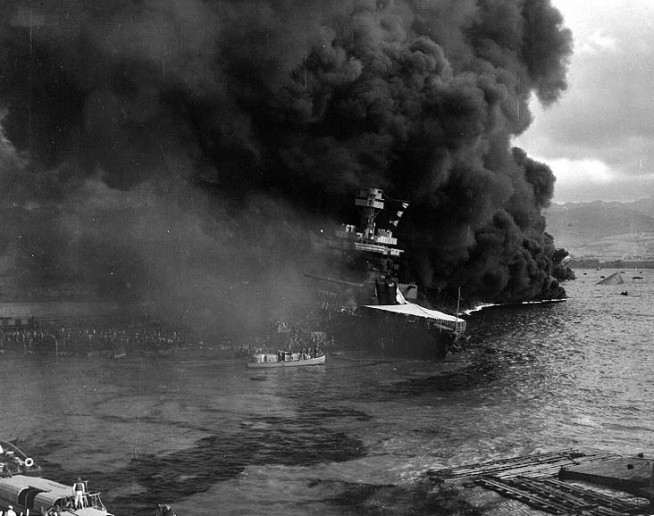
USS Tennessee and USS West Virginia
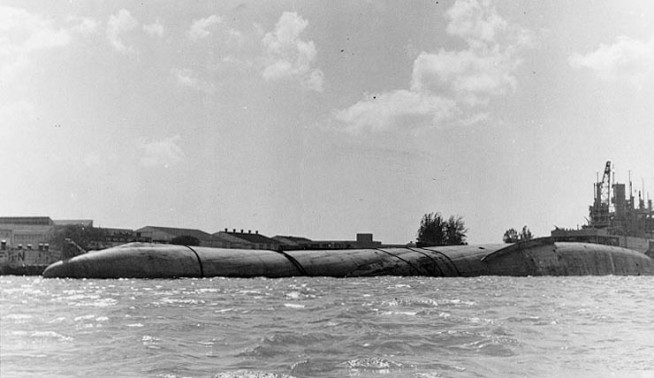
USS Utah and USS Tangier
USS Vestal

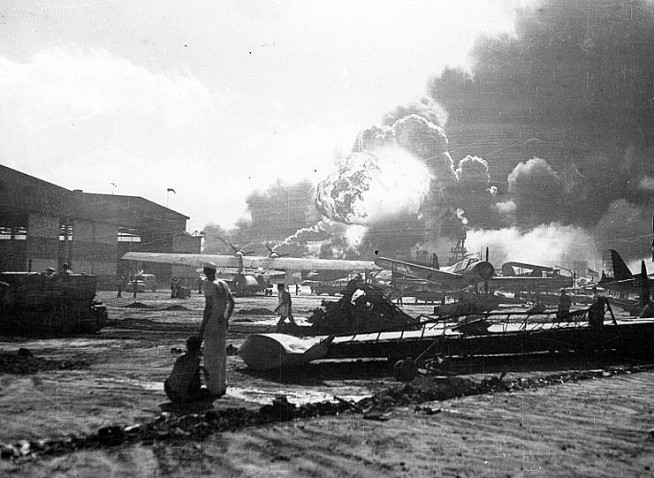
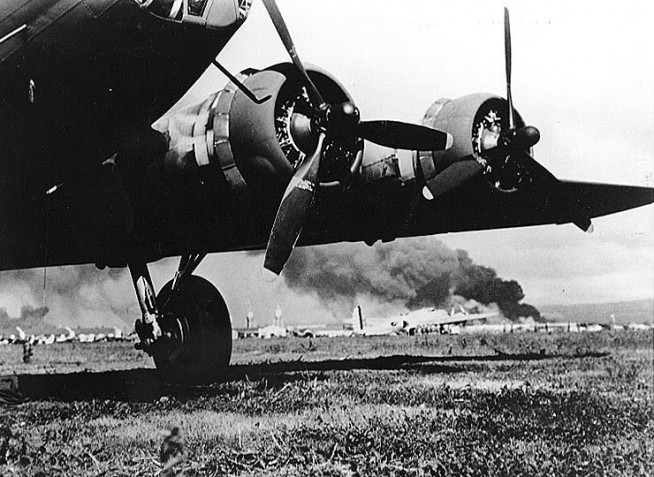
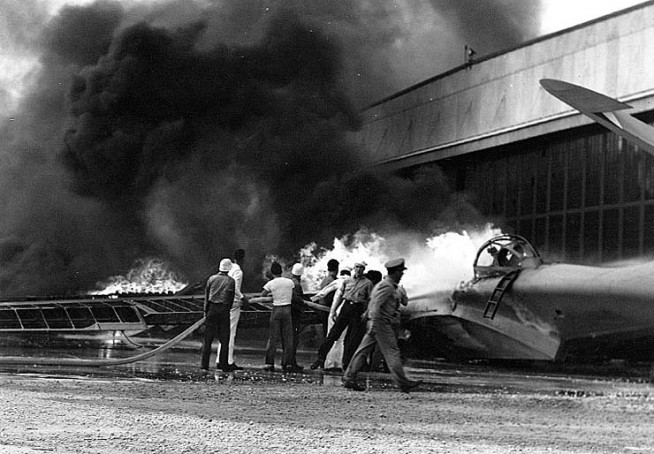
Wheeler Airfield
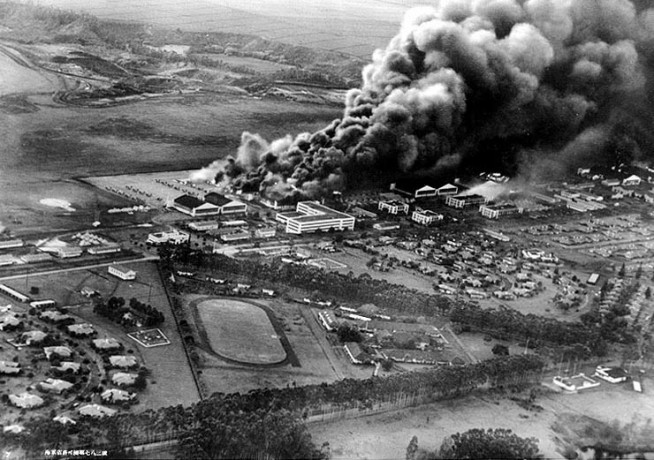
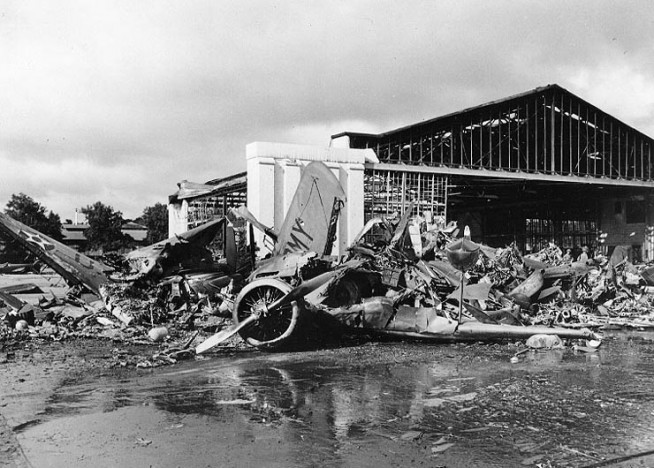
Hickam Airfield
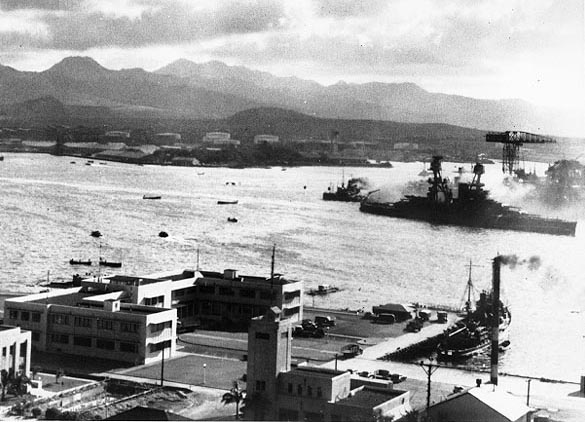
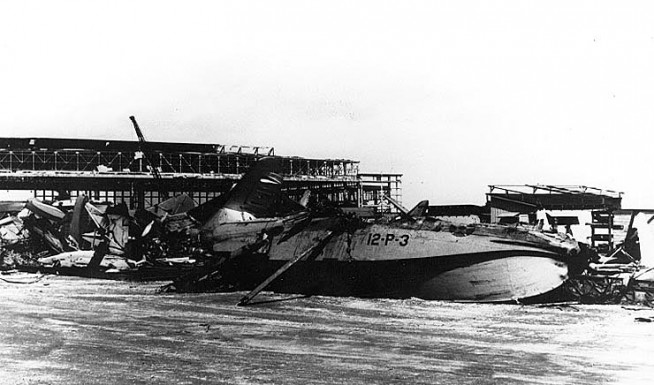
Naval Air Station Ford Island

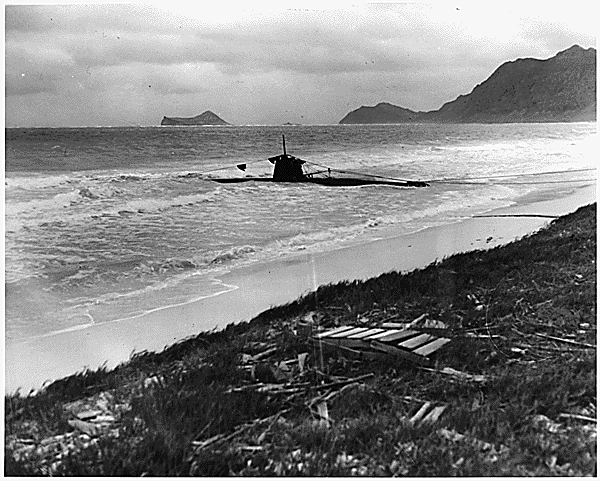
Naval Air Station Kaneohe
Bellows Field
CALLIE OETTINGER was Command Posts’ first managing editor. Her interest in military history, policy and fiction took root when she was a kid, traveling and living the life of an Army Brat, and continues today.